This is one of my husband's recipe again, so need to give him the credit. I am just putting it together in black & white, that's all. When he gets in kitchen, it is all this rich, creamy kind of recipes that come out. I love them, but because these are so rich, I don't let him into kitchen that much, know what I mean?
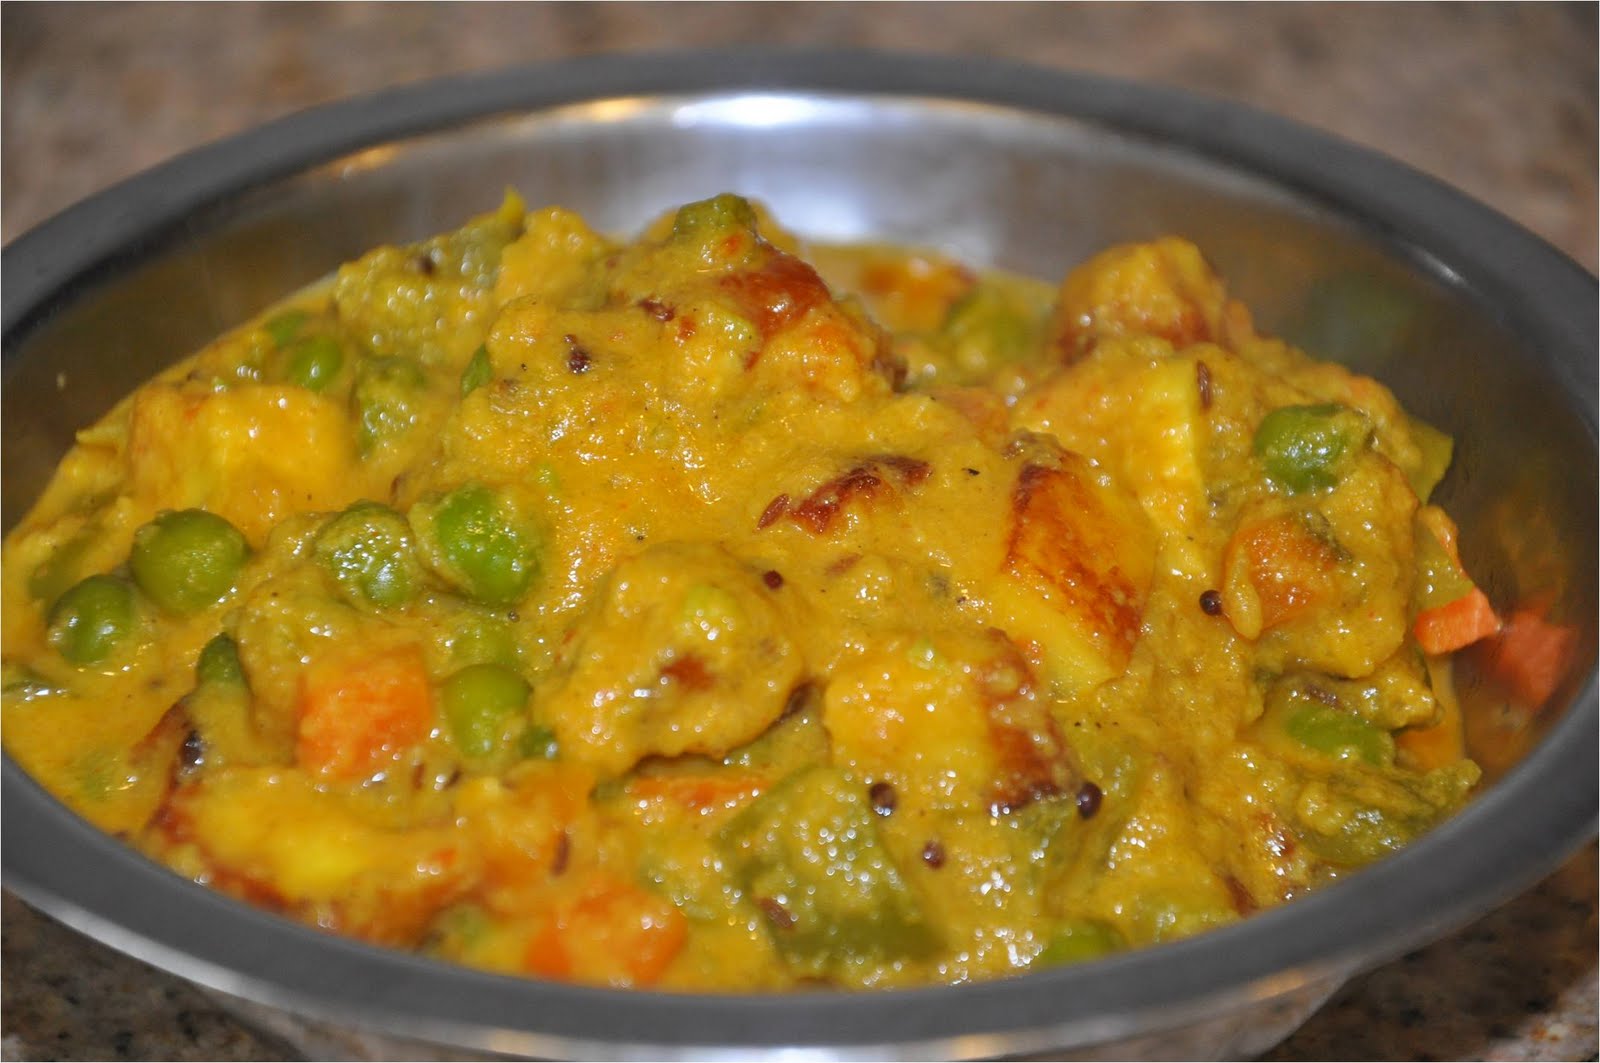
Peas - Carrots - Paneer Curry in Creamy Sauce
Ingredients
Peas - 1 cup
Carrots - 1 cup
Paneer - 1/2 cup
Heavy Cream - 1/2 cup
Regular Milk - 1/4 cup
Turmeric Powder - 1 tsp
Coriander Powder - 1 tsp
Cumin Powder - 1 tsp
Garam Masala - 1/2 tsp
Cumin Seeds - 1 tsp
Mustard Seeds - 1 tsp
Salt - as per taste
Butter - 1 tbsp
For Grinding
Onion - 1 cup
Tomato - 3/4 cup
Green Chillies - 2-3
Ginger - 1 inch piece
Garlic - 2-3 cloves
Preparation
- Grind everything that is under "For Grinding" ingredients.
- Chop carrots not very bigger than pea size. (I prefer using frozen peas and carrots that come in the same packet in freezer section)
- Chop paneer also in the similar size.
- Add 1 tsp oil and shallow fry paneer pieces to golden brown.
- Heat remaining oil in a pan.
- Add both cumin and mustard seeds and let them splutter.
- Now add the ground mix, cover and fry till the raw aroma is no more. Remember to close the lid as the mix will bubble.
- Add all the dry powders to the cooked paste and fry for 2 minutes
- Now, add peas, carrots and heavy cream, mix well and cook for 5 minutes.
- Add fried paneer and cook it for another 2 min.
- Adjust the gravy consistenccy by adding milk.
Serving
Serve them with roti/paratha/naan or even warm rice. It tastes yummy pretty much with anything. I ate about 1/4 cup of it just like that.
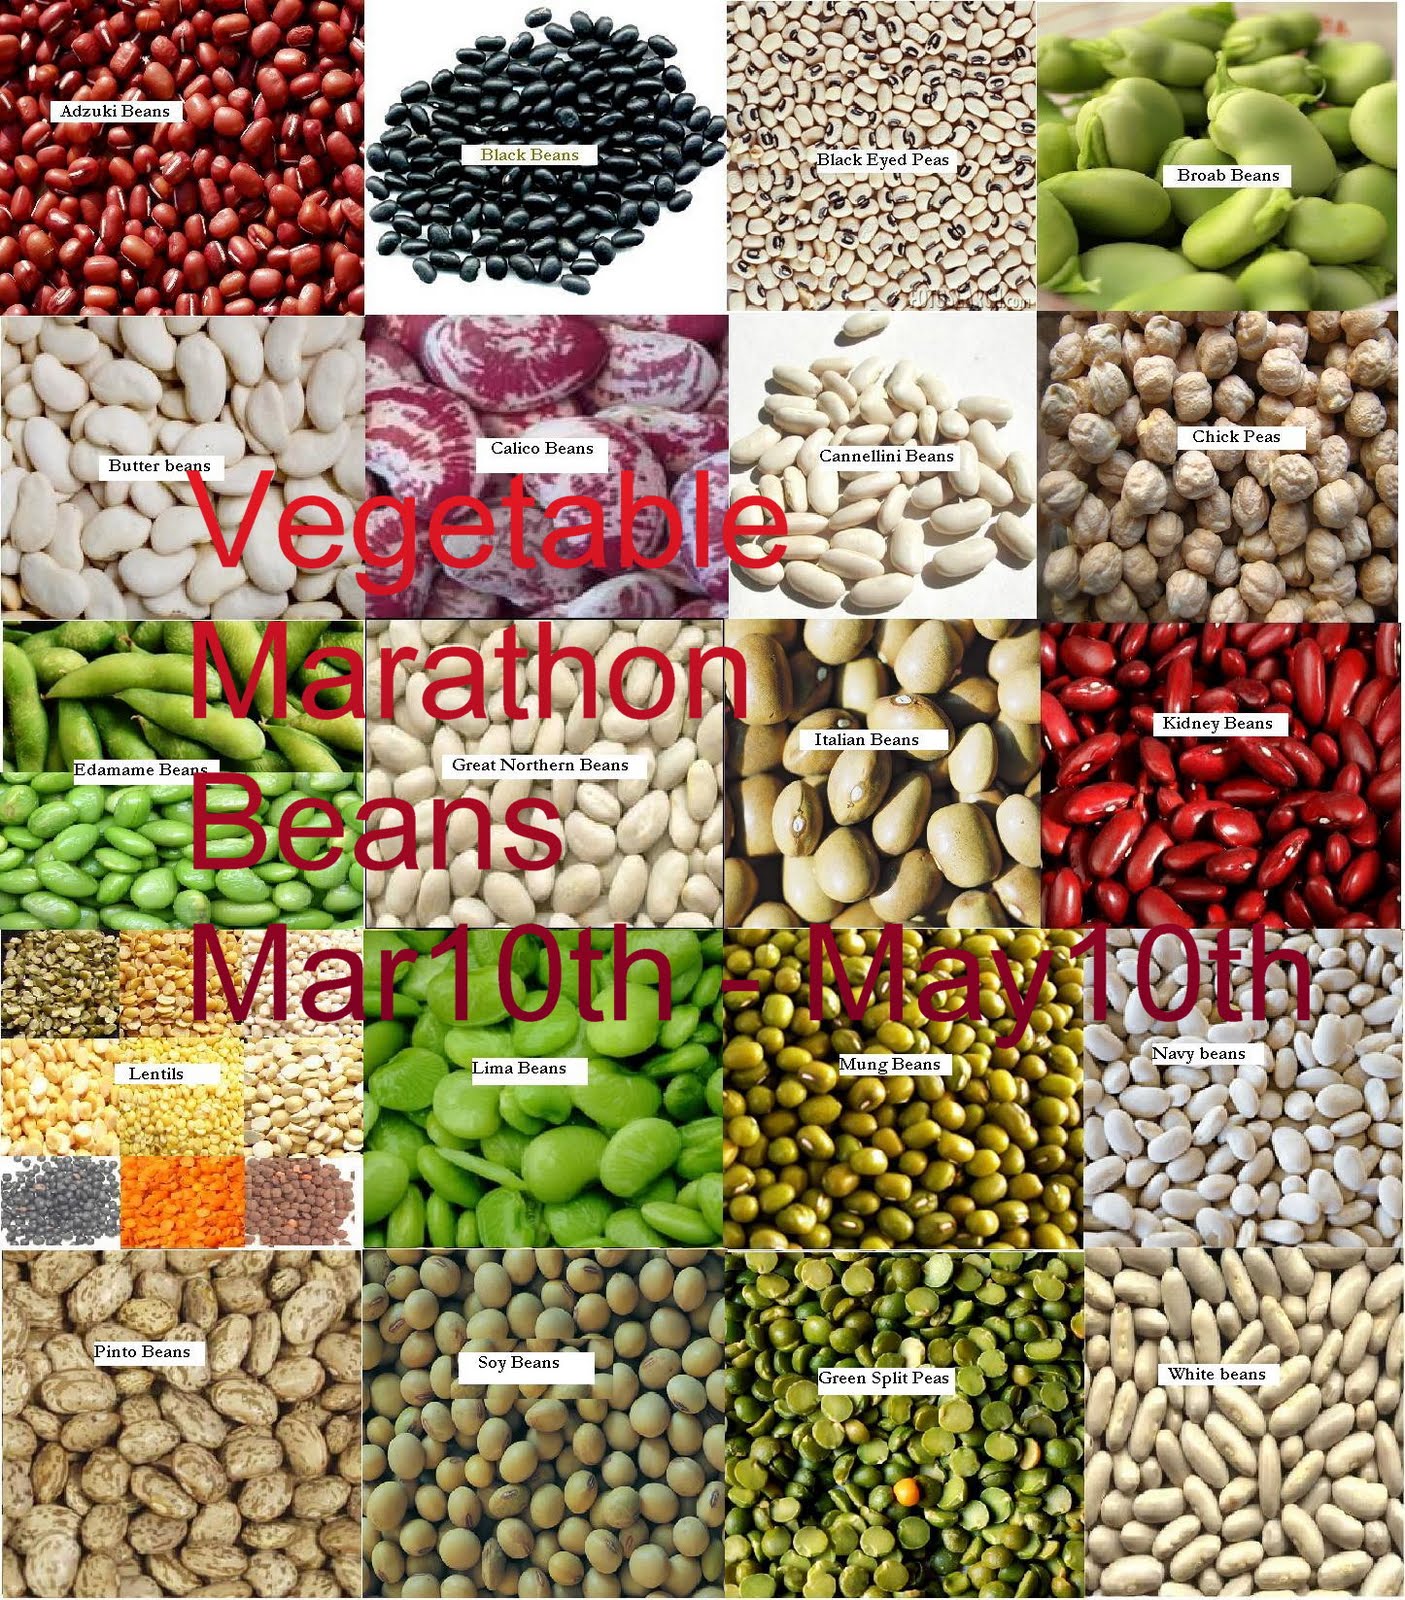
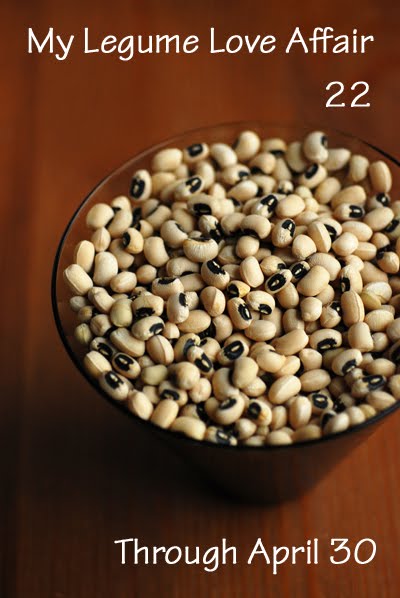
sending it to Vegetable Marathon - Beans event hosted by Anita and MLLA # 22 event hosted by Ruchika.
Updating the post to send it to Priti's Festive Food: His Cooking Event :)
That' all for now. Till next post, take care.